Finally - A Pattern Fitting System
for Your Body
I’ll help you fit your patterns, understand how to create and use a personalized base block. Learn your body, and understand how to create a wardrobe that works for you not against. I offer real life experience —with structure, not struggle.

Customizing Patterns to Suit Your Style
Enhance skills with pro pattern fitting and customization guidance, and sewing tips as they relate to fit. Private classes cater to individual needs and goals, for beginners or expert refining.
DIY: On-Demand courses and videos are for the DIY (do-it-yourself) motivated sewist who love to get it done on your own time and just needs a little guidance.
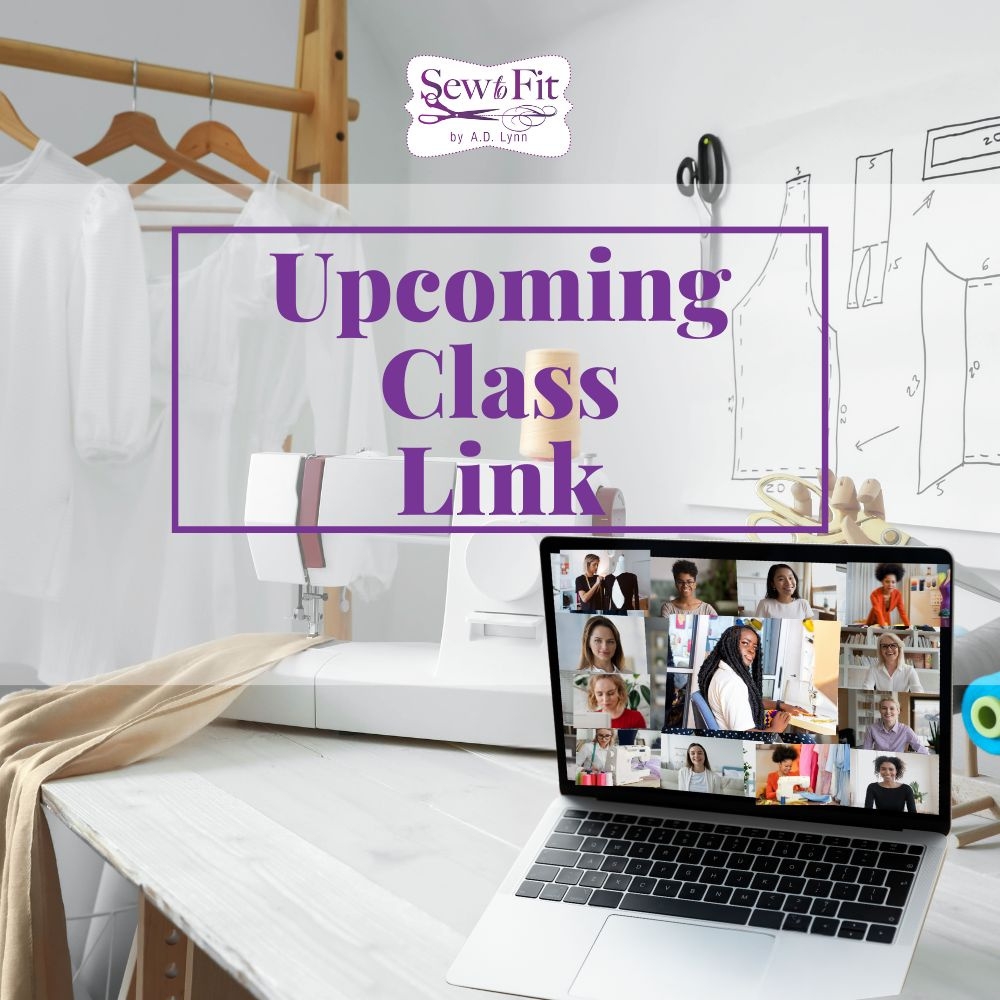
DWY: Do-it-With-Me memberships are available for you if you like the idea of having real-time assistance, peer review, community support and direct access to me as you work through you projects. New live zoom workshops and video replays are added regularly.
Keep in Touch: Please get on the email list for updates when new webinars and classes are scheduled.
Stay in touch! Get email updates.

Online Courses Instruction and
On-Demand Classes

Courses and Live Webinars
Access in-depth courses, including step-by-step instructions, weekly office hours, etc.
Learn At Your Own Pace
From any device, any time at your convenience. Resume exactly where you left off. No limits on the number of times you can view video lessons.
Awesome Community
Join our community and connect with students from around the world who are just like you. Learn and share with our growing community.
Andrea Davis
As I Committed to guiding you towards success, be it through teaching or coaching. I am at heart A vibrant city girl with a passion for sewing at heart. I constantly scheme my next getaway or escapade. Embracing each destination, I delight in discovering fresh fabrics, connecting with fellow sewing enthusiasts, and soaking in the wonders of uncharted territories
my experience lies in my longterm experience both rofeshional taught and self taught in pattern desigNwith profession trading in tailoring and pattern fitting customization and formal wear. I specialize in fitting and instruction.

%20(620%20×%20200%20px)63dbfd208fcc9_lg.jpg)